Kiki’s New Clothes

Kiki Part 3-1

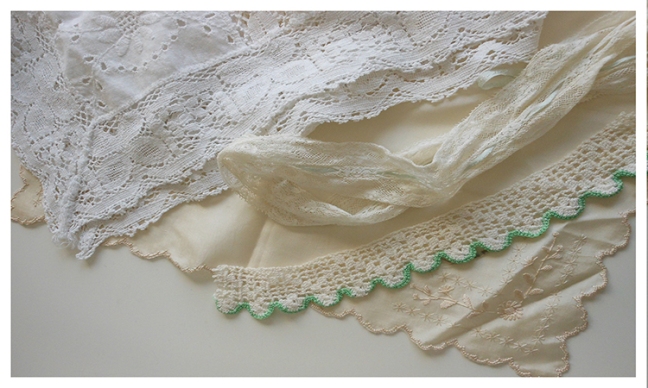
Vintage Hankie
Vintage Hankie

I’ve pressed the hankie into a bi-fold front after measuring it around Kiki’s torso.  It is just shy of fitting her.

I solved the problem by inserting a piece of silk ribbon to make it about an inch larger in circumference.
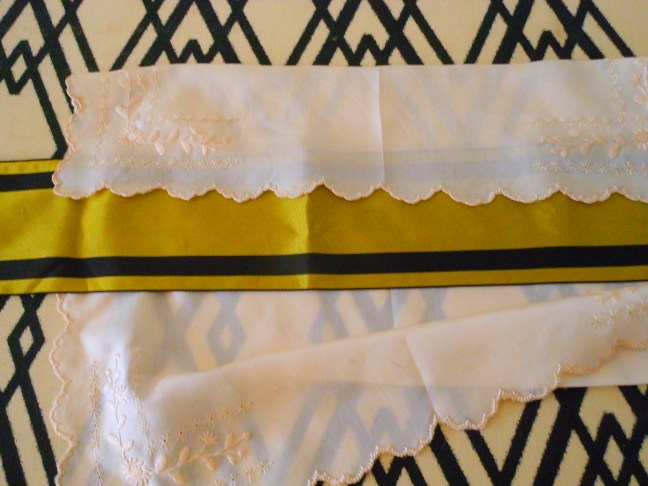
Kiki Insert Ribbon1I overlapped the adorable scallops, so they would remain a feature of my dress.
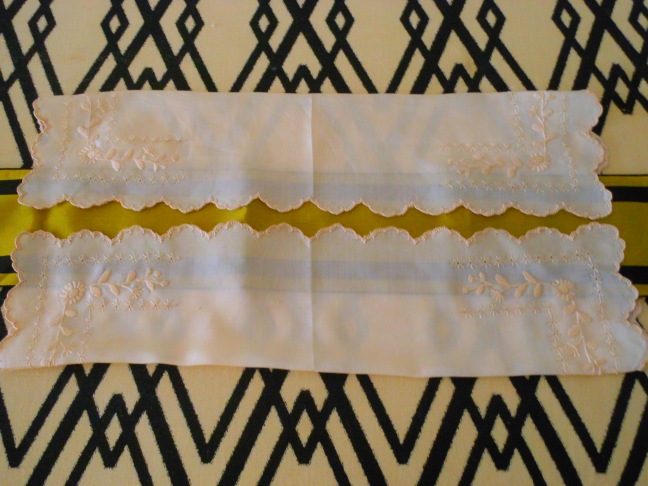
Kiki Insert Ribbon2Only the gold will be visible through the front opening.
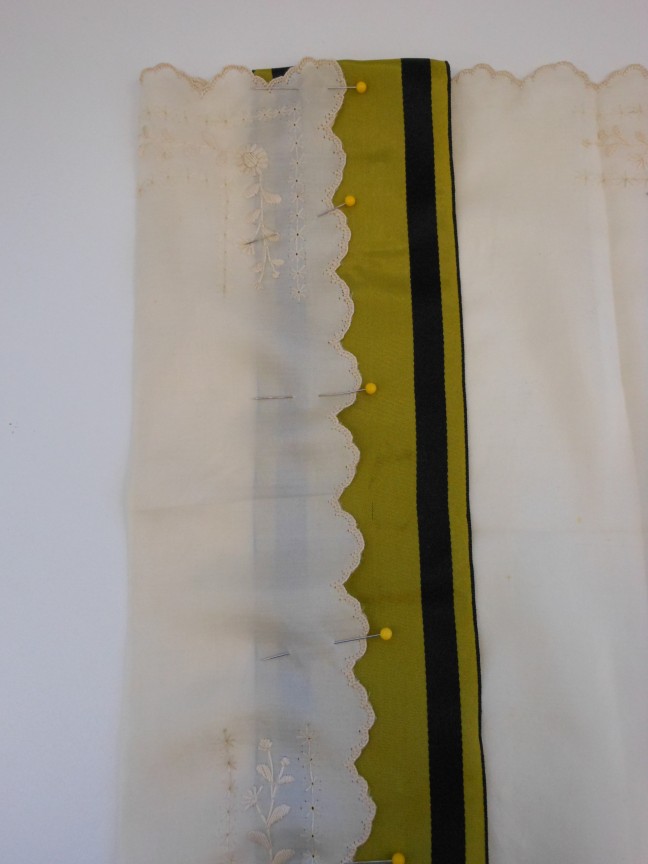
Pin hankie to ribbon

The rough ends of the ribbons have been folded back to
wrong side.
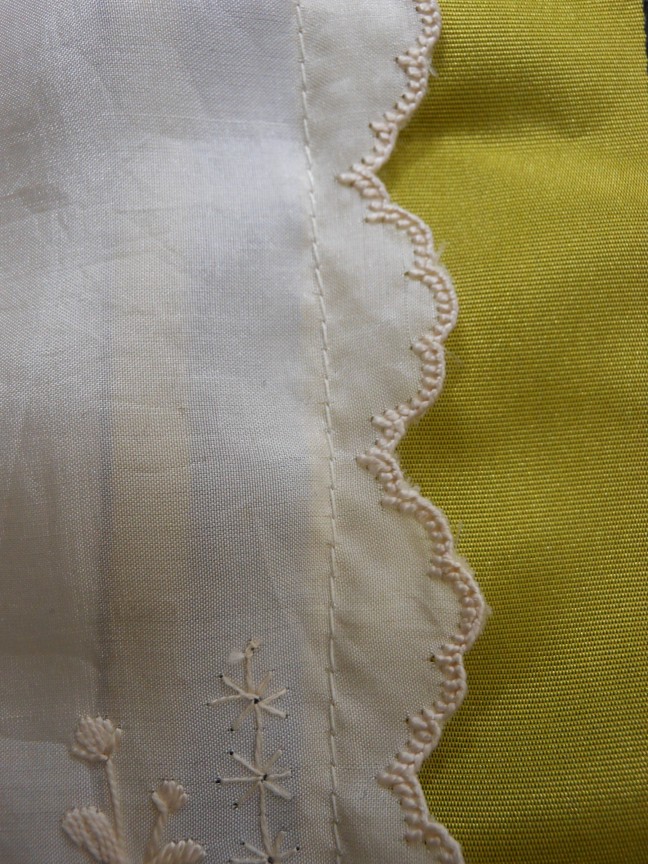
Topstitch hankie to ribbon.

The stitching is moved to the left, just enough to keep the the scalloped edge free.

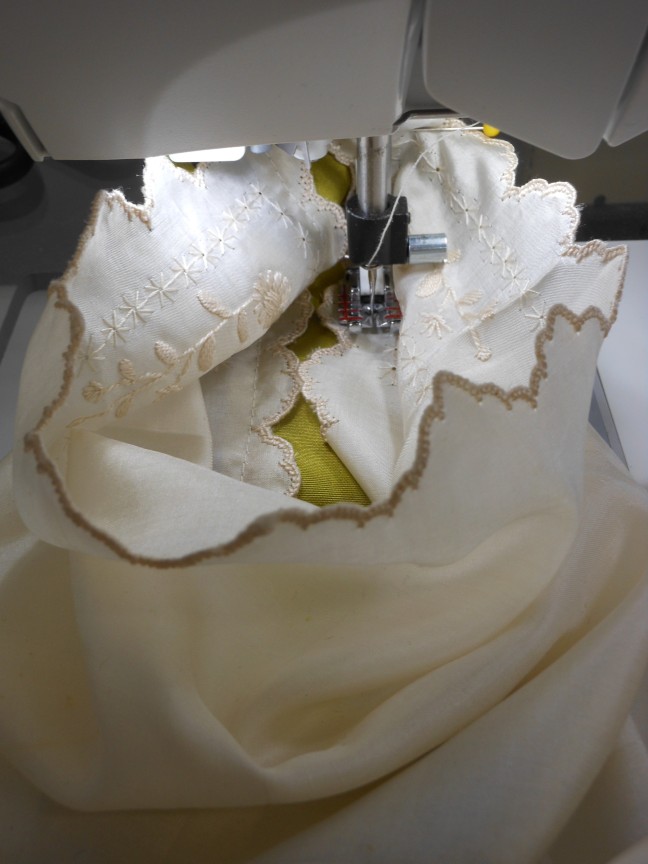
Sewing the second scalloped edge to the ribbon is a bit trickier.  Sewing this edge turns the “dress” into a tube and the fabric tends to get in the way of itself.  The best way to handle this is pin the other edge of ribbon to the hankie and then turn the tube inside out.  Sew slowly for more control of the fabric.

Kiki inside out second seam

It’s like sewing inside a bag.  The dark edge is actually the bottom edge of the “dress.”  If this technique proves too difficult, you can sew this side by hand.
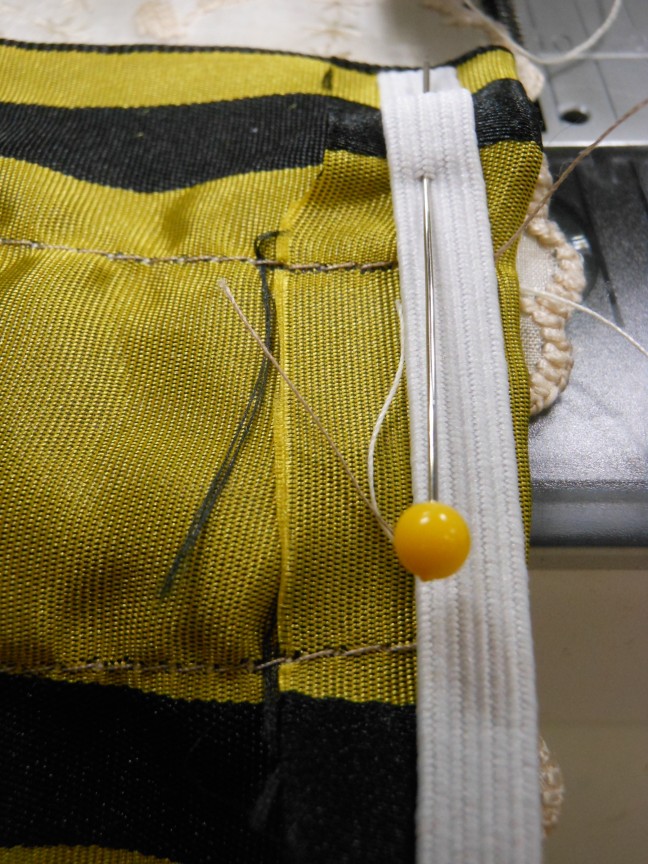
Creating the gather.

Start by pinning the elastic into place.  I set the end of my elastic at one edge of the ribbon, so that it doesn’t close in the center of the front.

With the elastic in position, set it under the sewing needle.   Make a back-tack stitch to secure before you begin sewing.
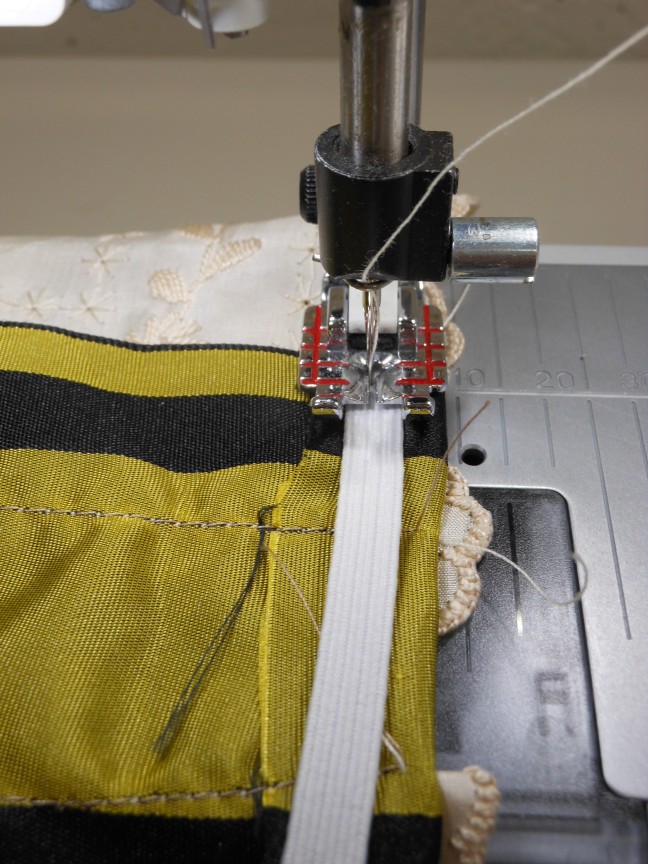
Drop sewing machine needle into elastic and remove pin.

To get the fabric to gather, you must stretch the elastic as you sew it into the “dress.”
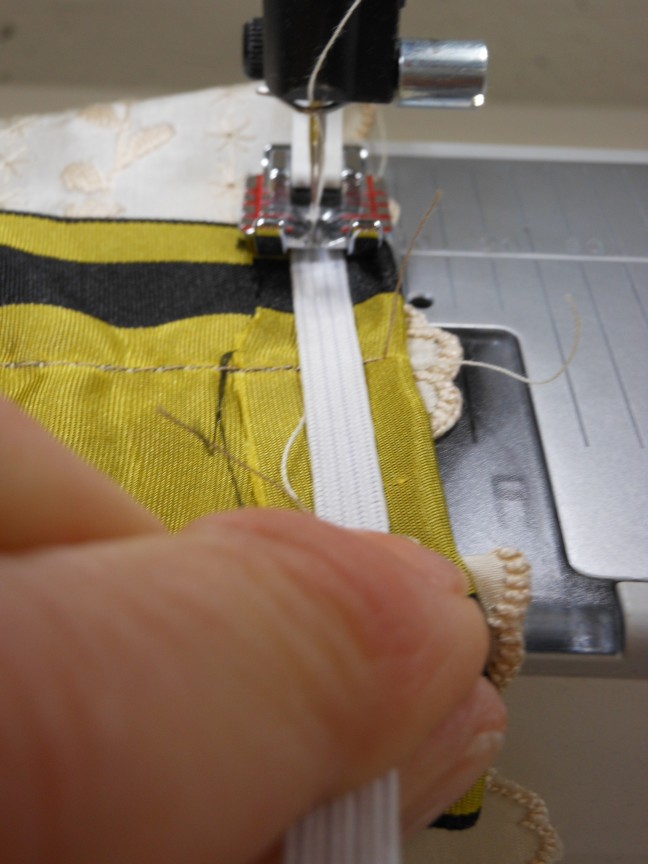
Kiki Pull elastic
Pull elastic toward you.

It helps to pull on the fabric behind the needle to keep the fabric moving forward.  A specialty elastic foot can be used if available.
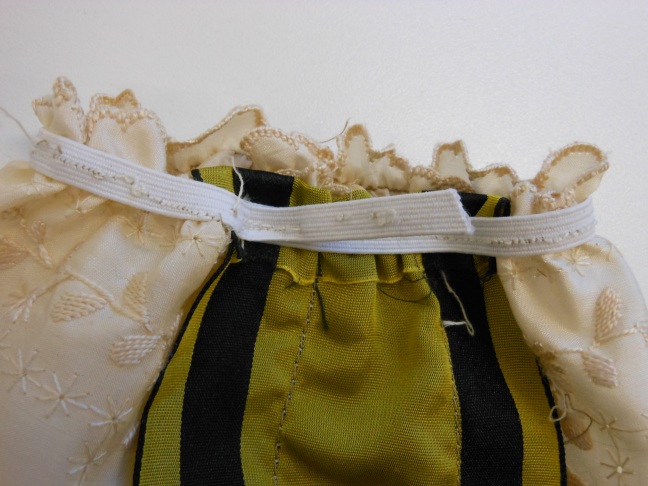
Sew around the entire top opening and overlap elastic.

Secure end of elastic with extra stitches.  Cut away excess elastic.
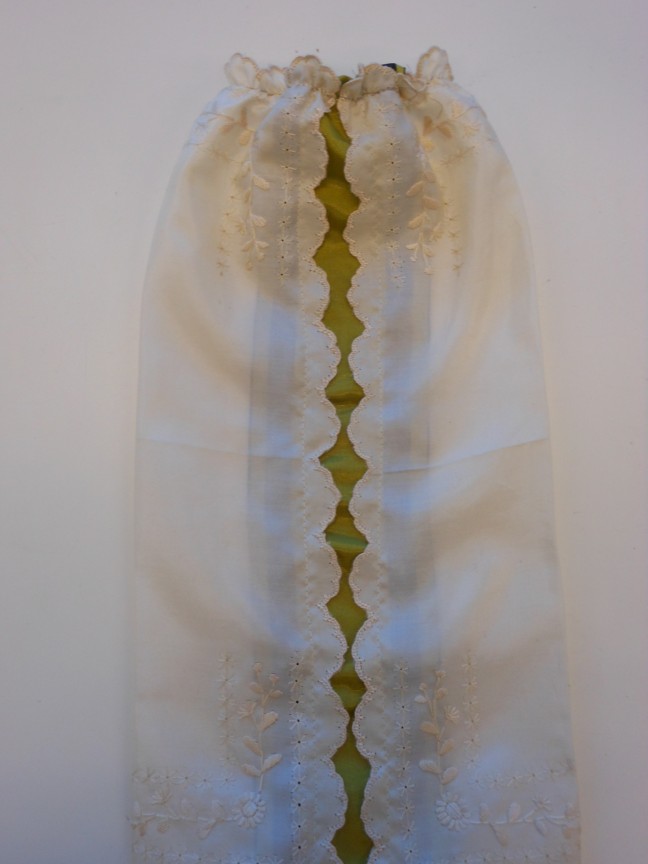
Finished Dress
Finished Dress

The original Kiki wears legging shorts in the story book.  This dress is long enough to not need leggings.

Enjoy the process.  We’d love to hear from you and receive photos of your Kiki dolls.  Would you like a tutorial on how to make Kiki’s leggings?
Kiki: Part 2

Kiki Part 2-1

Missed Part 1?  Visit the last post on Make Your Own Kiki Doll
 Kiki and Coco in Paris by Nina Gruener and Stephanie Rausser

2011-03-19 20.08.50

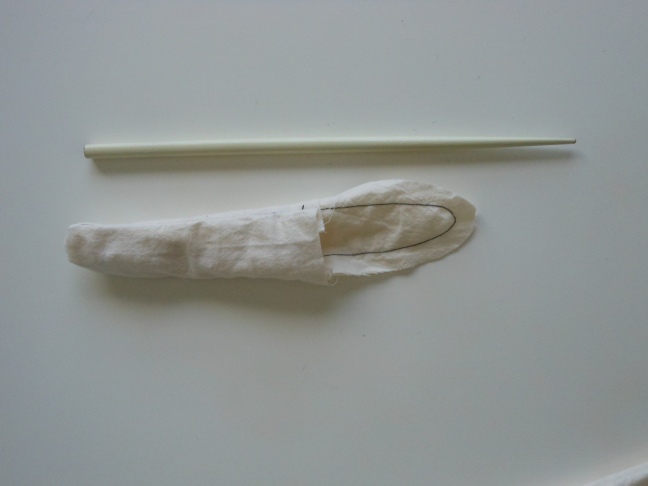
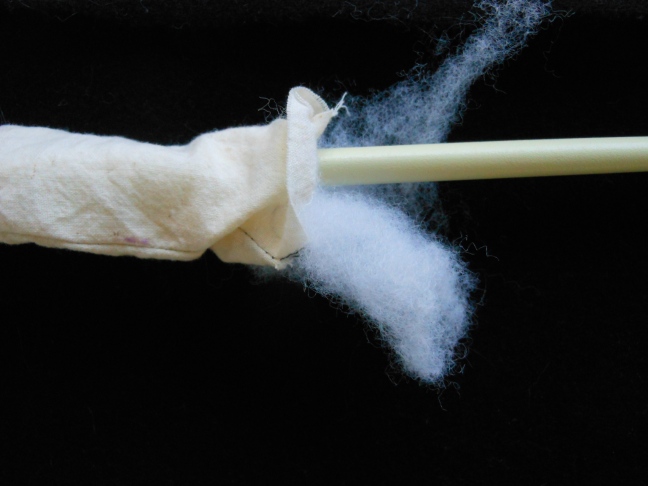
Use a chop stick to turn right sides out and ease the filling into the body, arms and legs.

2011-03-16 19.43.27

Take small amounts of fiberfill at one time and gently push to furthest part of doll from opening.  Continue until the doll is firm, but still soft. The neck should be especially firm, so that the head does not flop.

2011-03-16 21.48.00

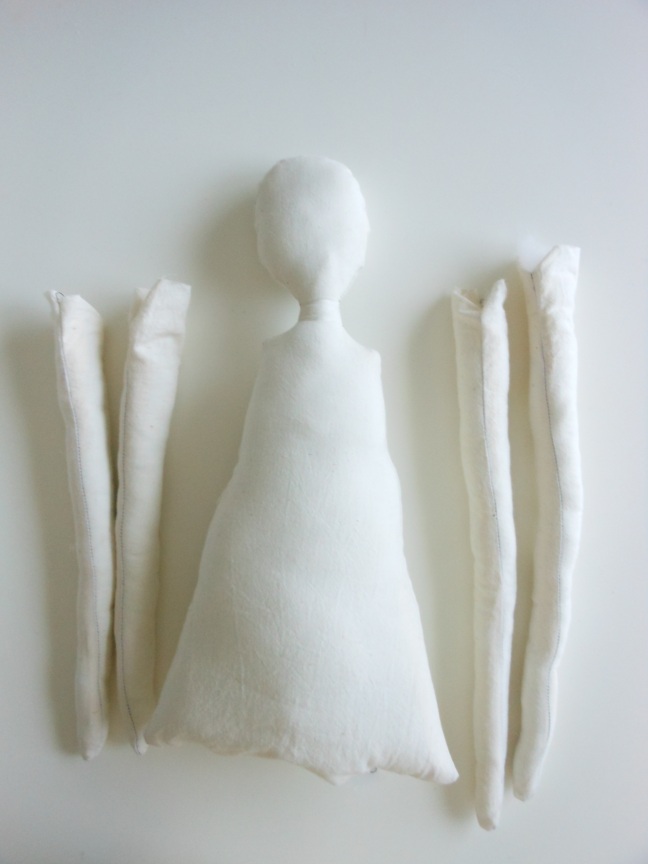
The legs and arms can be filled “almost” to the top.  Leaving a bit empty at the opening makes it easier to fold over and/or attach the arms and legs.  The legs are inserted into the opening of the “dress.”

Pin legs in place and pil remaining "dress" closed before sewing.
Pin legs in place and pin remaining “dress” closed before sewing.
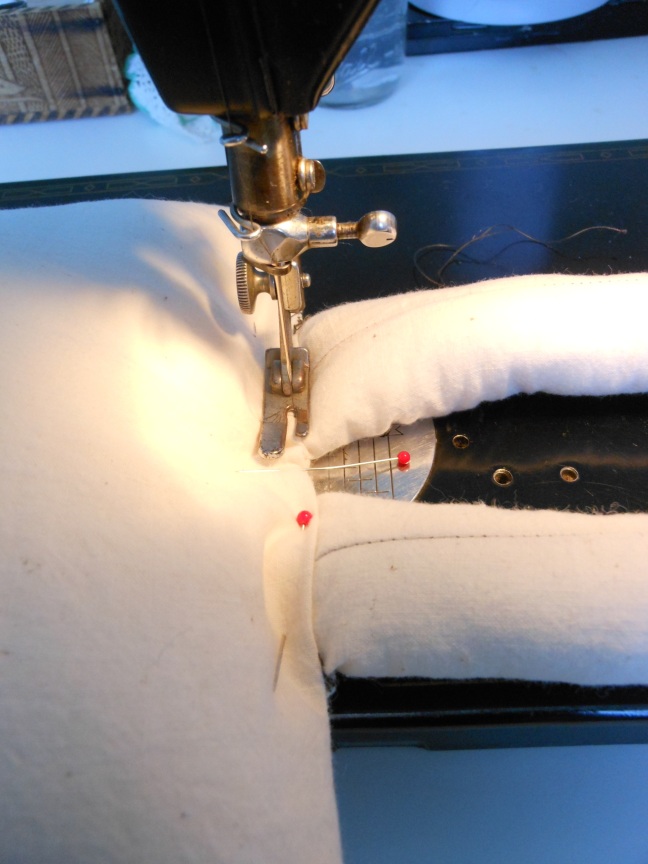
Sew close to edge of  "dress" opening.
Sew close to edge of “dress” opening.
Legs are securely in place.

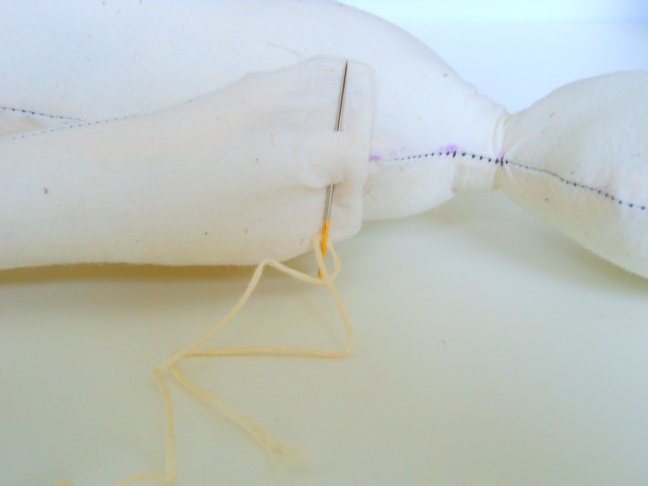
Add arms by hand sewing with doubled thread or embroidery floss.

Pin arm in place.
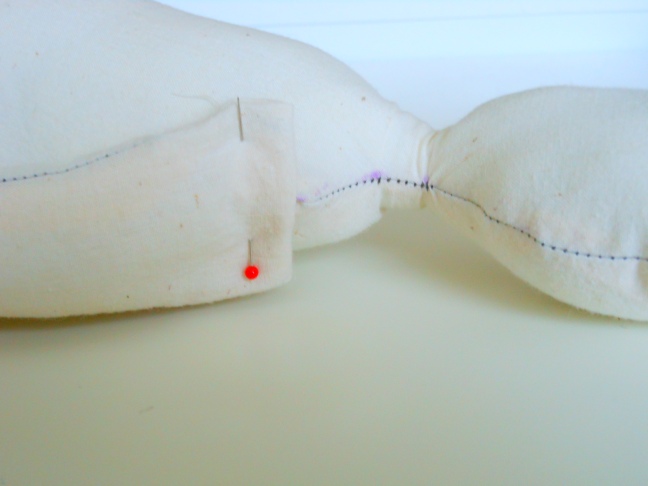
Pin arm in place at shoulder.
Replace pin with threaded needle.

You should stitch through the arm and body at least two times with heavy thread.  Then use the same thread to add the button.  Make several knots in end of thread to secure button.

Kiki Add Button to Arm

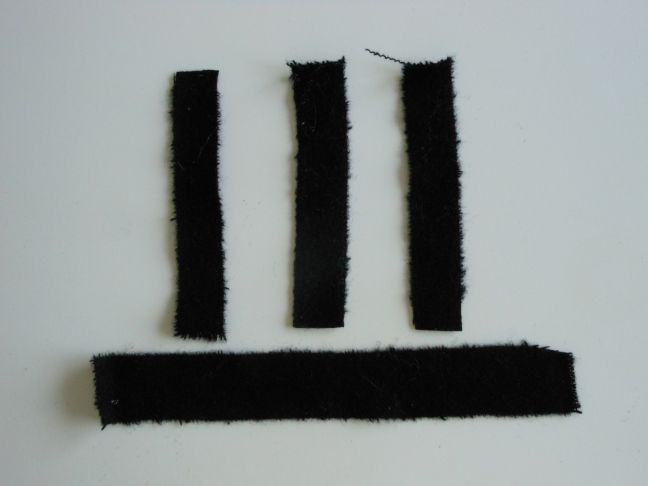
You need three or fall small pieces of wool fabric or felt.
You need three or four small  (4″-5″) strips (1″) of wool fabric or felt.

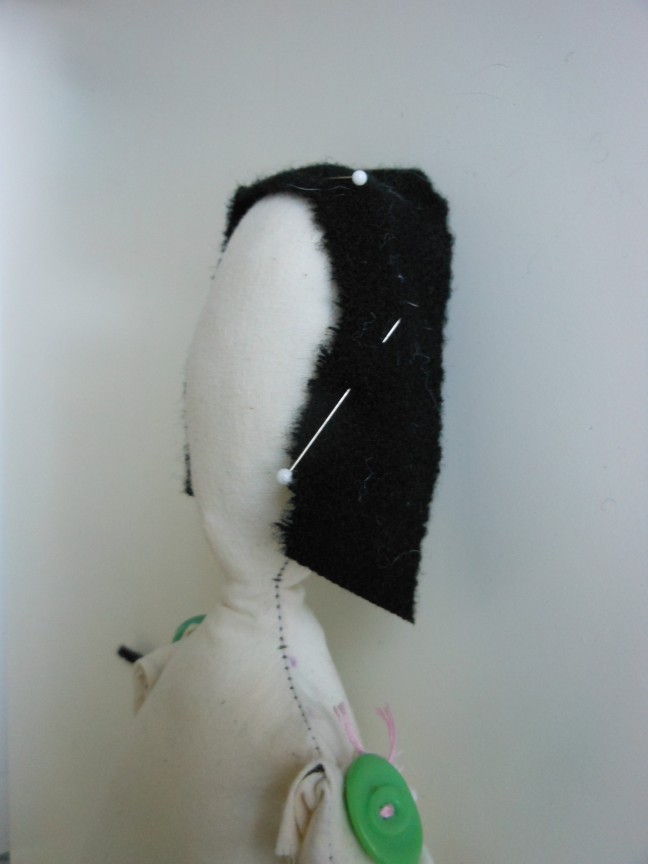
The longer piece wraps around her face and is trimmed to length.

Pin first strip of wool into place around face.
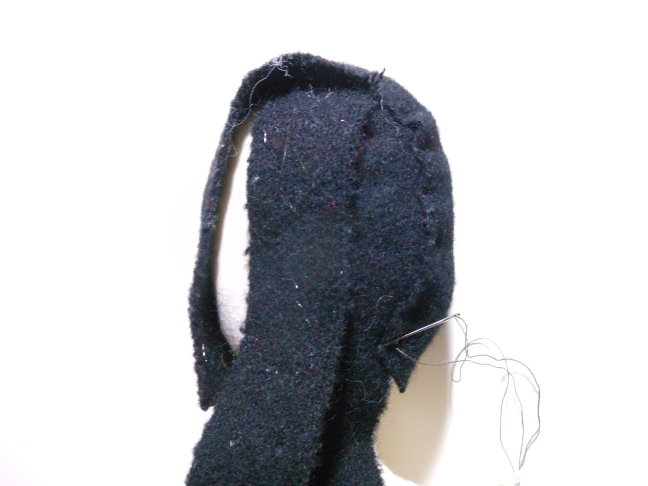
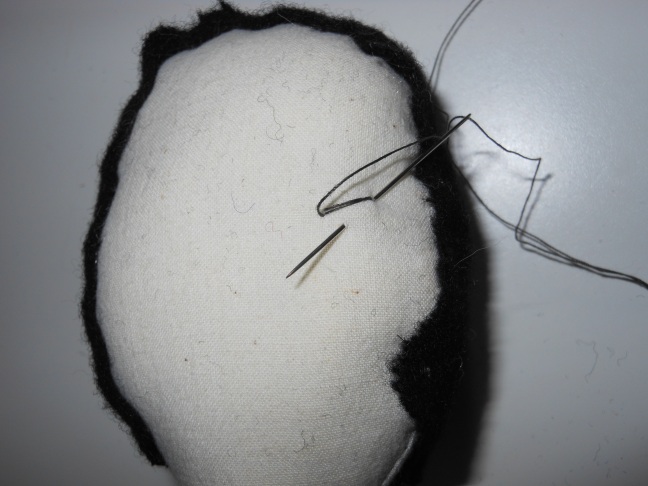
Take tiny stitches in and out of wool and scalp to attach.
Keep adding strips until back of head is covered.

Trim hair into preferred style.  Make a face!Kiki Sew eye 2

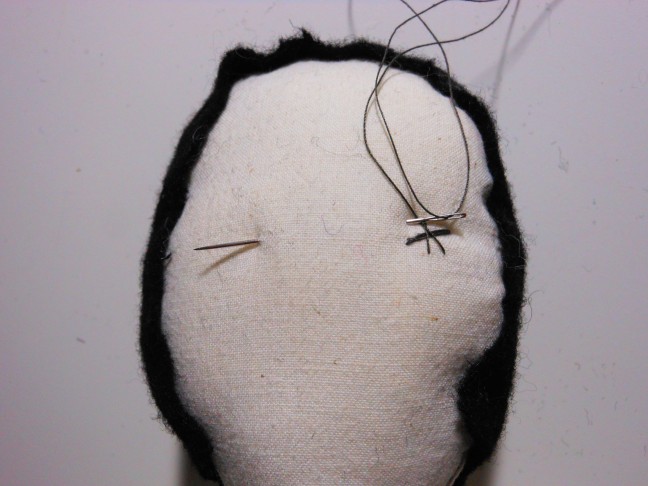
I start with one eye by sending the needle through the back of the head to hide the knot.  It comes through the face and the three stitches are drawn before moving the needle to the other side. I went over the main stitch three times to give it prominence.

Stitch in other eye in same manner.

Kiki Sew eye Other

Cut a tiny heart for Kiki's mouth.
Cut a tiny heart for Kiki’s mouth.

Use light-colored thread to attach mouth with a tack stitch.

Stay tuned for How to Make a Dress for Kiki: Part 3.

Kiki: Part One

My very own Kiki.
My very own Kiki.

of Kiki and Coco in Paris by Nina Gruener
photographed by Stephanie Rausser

Make Kiki Title

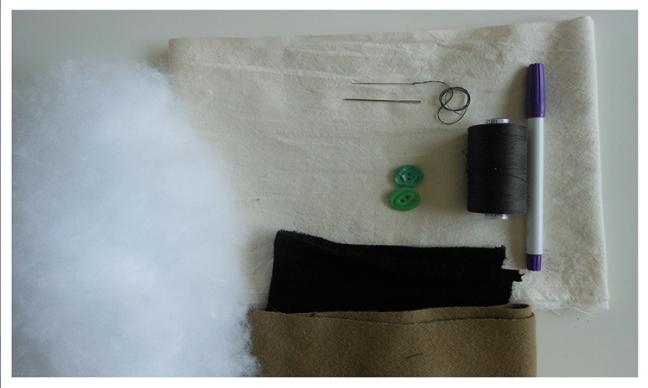
KikiSupplies

Kiki Supplies2 Kiki page2

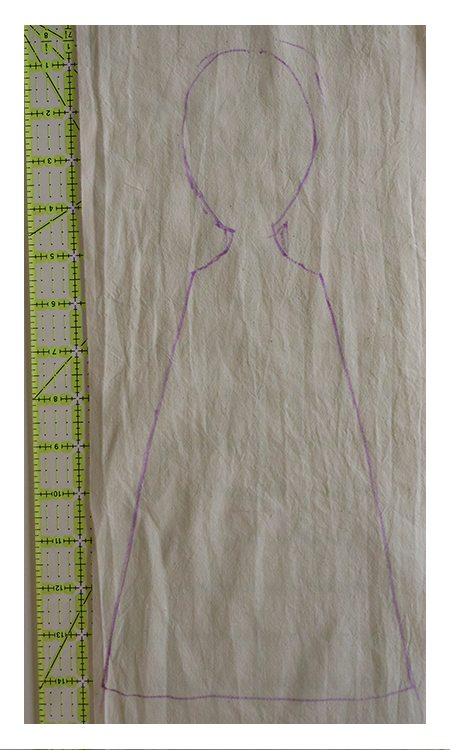
Head and body about 14" long.
Head and body about 14″ long.

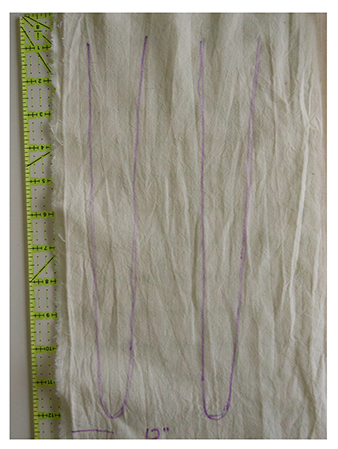
When drawing your doll, make sure you leave room  between the body parts, so that you have seam allowances built in and enough space to cut them apart after sewing.

Kiki Legs Arms
Pin drawings to a second layer of muslin.
Start sewing on bottom of "dress" and end on other side - bottom of "dress."
Start sewing on bottom
of “dress” and end on
other side – bottom of “dress.”
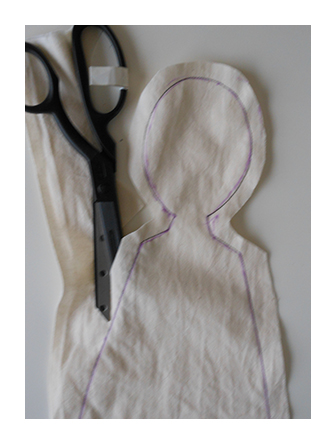
Cut out shapes about 1/2" away from sewing line.
Cut out shapes about 1/2″ away from sewing line.
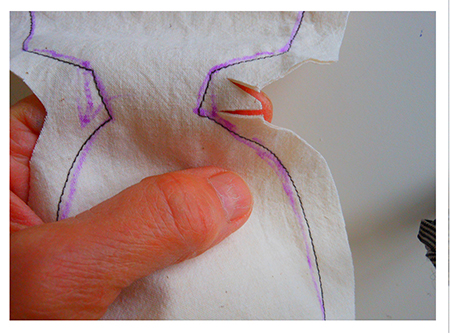
Add two snips on each side of neck.
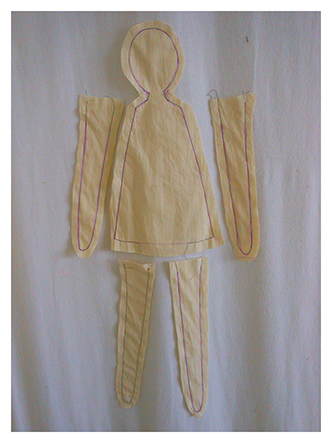
All pieces cut out. Turn right side out.
All pieces cut out.
Turn right side out.